Real-time PDF generation with JavaScript and ASP.Net Core MVC 3.0
In our previous article titled “How to create a real-time web chat with PDF chat history in JavaScript“, we added a PDF generation feature to store the chat conversation history of an instant chat application implemented using JavaScript and ASP.Net Core SignalR.
In this article, we are going to extend the application to modify the content of a PDF file in real-time with chat history without the need to trigger the generation.
This article was written with the following tools:
- Microsoft Visual Studio 2019
- ASP.Net Core MVC 3.0 with c#
- Foxit Web PDF SDK 7.1
Please refer to the last article and follow the steps below to modify the source code to implement a real-time PDF chat history generation in JavaScript with Foxit PDF SDK for Web.
A. Instant PDF Generation for Chat History
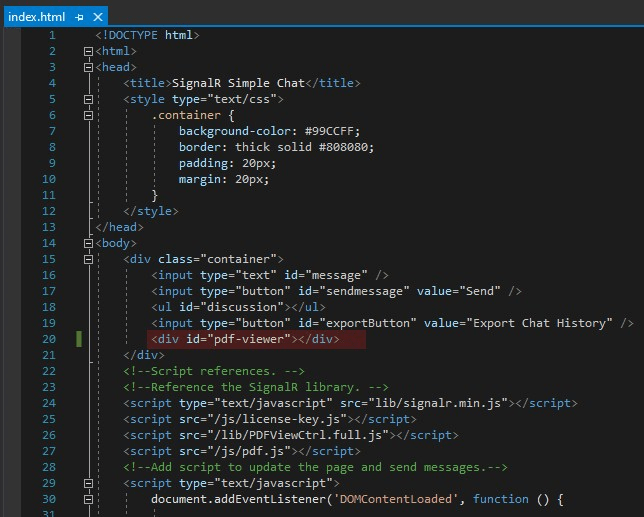
1) Unhide the PDF viewer (PDFViewCtrl) on the page so that we can see the ongoing changes. Open wwwroot\index.html. Lookup the below line and remove “style=”display:none;““.
<div id=”pdf-viewer” style=”display:none;“></div>
2) In our last article, we used PDFViewerCtrl to download a template, generate the content of the PDF by converting the HTML content into text-based information and insert into the PDF file as annotations. Now, we are going to create a new function to insert every new chat message into the PDF as annotation.
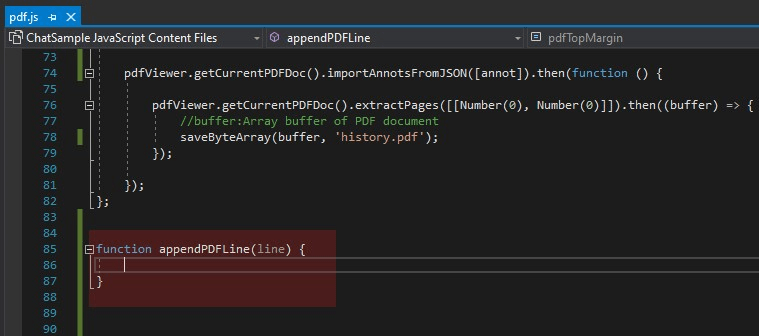
First, we are going to create a new function “appendPDFLine“. Open wwwroot\js\pdf.js. At the end we append this function, like below:
function appendPDFLine(line) {
}
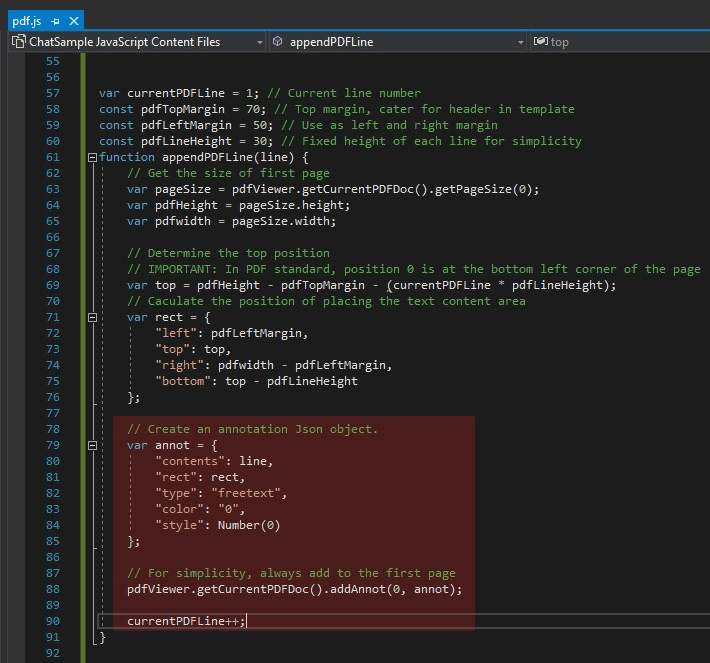
3) Next, we are going to determine the position where we put the next chat line in the PDF. Note that the position 0 is at the bottom left hand corner of the PDF document.
var currentPDFLine = 1; // Current line number
const pdfTopMargin = 70; // Top margin, cater for header in template
const pdfLeftMargin = 50; // Use as left and right margin
const pdfLineHeight = 30; // Fixed height of each line for simplicity
function appendPDFLine(line) {
    // Get the size of first page
    var pageSize = pdfViewer.getCurrentPDFDoc().getPageSize(0);
    var pdfHeight = pageSize.height;
    var pdfwidth = pageSize.width;

    // Determine the top position
    // IMPORTANT: In PDF standard, position 0 is at the bottom left corner of the page
    var top = pdfHeight - pdfTopMargin - (currentPDFLine * pdfLineHeight);
    // Caculate the position of placing the text content area
    var rect = {
        "left": pdfLeftMargin,
        "top": top,
        "right": pdfwidth - pdfLeftMargin,
        "bottom": top - pdfLineHeight
    };
}

4) To complete our new appendPDFLine function, we create the annotation object and add to the PDF page. Also, we increase the line number for the position calculation.
    // Create an annotation Json object.
    var annot = {
        "contents": line,
        "rect": rect,
        "type": "freetext",
        "color": "0",
        "style": Number(0)
    };

    // For simplicity, always add to the first page
    pdfViewer.getCurrentPDFDoc().addAnnot(0, annot);


    currentPDFLine++;
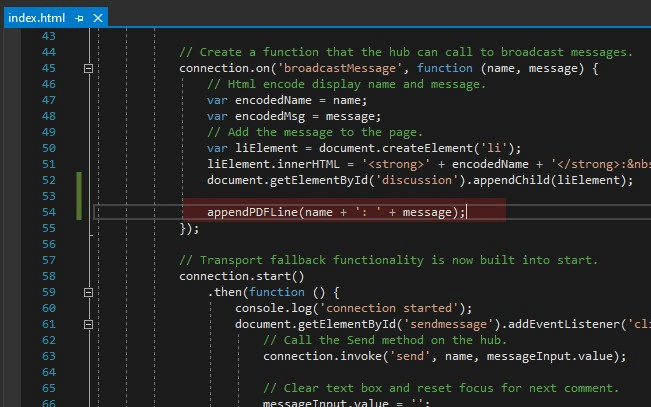
5) The appendPDFLine function is now ready. What we need to do is to call it whenever there a new message arrives. Go back to wwwroot\index.html. When receiving the broadcast message from the SignalR hub, we also append a line to the PDF file showing in the PDFViewerCtrl.
appendPDFLine(name + ': ' + message);
6) For the click event handler of the “Export Chat History” button, instead of composing the content in the PDF page, we only need to export the PDF file content to a physical file. Open pdf.js and locate the click event handler of the exportButton. Then only retain the code of the extracted page and save the byte content as below.

B. Test Run Instant PDF Generation
1) Hit Ctrl+F5 to run the SignalR web application. Enter a name in the pop-up to continue.

2) Copy the URL into another web browser or another tab/window of the same browser to create another chat session. Enter another name to continue.

3) Let’s chat a little more.

4) Click the “Export Chat History” button to export the content of the PDFViewerCtrl into a physical file.

5) Open the PDF file “history.pdf” and the file should look exactly as what is being shown in PDFViewerCtrl.

If you don’t like the border of the annotation, you can remove it immediately after adding the annotation as below:
    pdfViewer.getCurrentPDFDoc().addAnnot(0, annot).then(function (annotations) {
        annotations[0].setBorderInfo({ width: 0 });
    });
In this article, we extended the SignalR instant chat web application by showing chat history instantly in the PDFViewerCtrl. We also modified the logic of the Export Chat History button so that we can store a copy of the chat history in a PDF file.
Updated on August 16, 2021