How to use Foxit PDF SDK for Web Encryption API?
From Foxit PDF SDK for Web 6.2, we’ve implemented a solution for a more secure client-server data transfer process. This article will provide a step-by-step tutorial on how to set up your environment to use our encryption API and safely encrypt your PDFs from your server to your end-user client browser. For that, we will use a demo using node.js and a few javascript files provided here.
Contents
Understanding the demo
This demo encompasses the use of two javascript files, a sample PDF and node.js server CLI. We will not provide the instructions on how to set up node.js. Please go to node.js website and download it if you don’t have it.
Step 1: Create a demo folder
Inside your Foxit PDF SDK for Web download package, create a folder called ‘Demo’ as seen below:
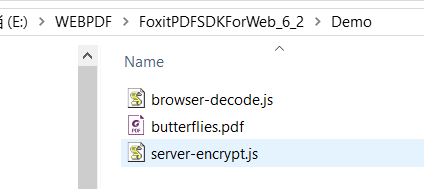
And add the three files below inside the folder:
server-encrypt.js
The sample code for server-encrypt.js is as follow:
//On node.js, use the following method:
var fs = require('fs');
var path = require('path');
var EncryptPDFPassword = require('../server/security/EncryptPDFPassword'); // './EncryptPDFPassword' points to the path of EncryptPDFPassword.js
var encryptPDFPassword = new EncryptPDFPassword(path.join(__dirname, '../scripts/worker/'));  // '.../../scripts/worker/' points to the path of PDF2Image_rel_wasm.wasm
//example: encrypt './butterflies.pdf using new password '123456'
encryptPDFPassword.encrypt('./butterflies.pdf', '123456', 'oldPassword').then(function (result) {
// encryption succeeded.    result = {encryptedPassword: , pdfDocumentBuffer: }; // result.encryptedPassword is an encrypted string value, result.pdfDocumentBuffer is a stream of the encrypted PDF
// output  result.encryptedPassword for opening document
        console.log('encryptedPassword', result.encryptedPassword);
//save the encrypted stream as a file for opening
        fs.writeFileSync('./Encryptedbutterflies.pdf', new Uint8Array(result.pdfDocumentBuffer));
    }, function (err){
        // encryption failed. console.error(err);
    }
)};
For the encryption, you may notice in the server-encrypt.js that Foxit PDF SDK has created a new encryptPDFPassword class and the encrypt function to cover this encryption process. Please see a detailed description below:
encryptPDFPassword.encrypt (pdf, newPassword, oldPassword)
Parameters
pdf: PDF document
newPassword:Required. Set a new password for the current document. If the current document already has a password, and you don’t wish to change it, set same value for newPassword and oldPassword. Leaving newPassword as null will remove the password
Note: A PDF document may have an open and permission password. The open password can be used to open a document and view with permission restriction. A permission password is used to open a document with full access.
oldPassword: The original password of the current document. If there was no password previously, leave this field null.
browser-decode.js
The sample code for browser-decode.js is as follow:
// Browser Decryption
// On the web side, use the method 'WebPDF.ViewerInstance.openFileByStream' to open the 'Encryptedbutterflies.pdf'. Example as follows:
var url = 'http://IPaddress:8080/Demo/Encryptedbutterflies.pdf';
var xhr = new XMLHttpRequest();
xhr.open('GET', url, true);
xhr.responseType = 'arraybuffer';
xhr.send();
xhr.onload = function(e) {
    var responseArray = new Uint8Array(this.response);
    var fileId = "Wed, 19 Nov 2018 09:31:20 GMT";
    WebPDF.ViewerInstance.openFileByStream(responseArray, fileId, "Encryptedbutterflies.pdf", 'result.encryptedPassword ');
//  result.encryptedPassword is an encrypted string value
}
butterflies.pdf
Only create and save the javascript files at this point, you will need to make adjustments to your code like adding your own IP number and the encrypted password in the next steps.
Step 2: Encrypt your PDF file
For the encryption, you will need to run the command line application inside the ‘Demo’ folder created in Step 1 to open a node.js server as seen below.

Once opened, input the command below:
node server-encrypt.js
This will invoke the server-encrypt.js script and generate the encrypted password as below, and also generate the encrypted file Encryptedbutterflies inside the demo folder.

Step 3: Decrypt the file in the browser
Copy the encrypted password string in your command-line window. Now we will edit ‘browser-decode.js’ to perform the password decryption when the PDF is loaded in the browser. The code is updated below with the details generated in this article. You will update your own js file according to your own password and IP number and also a date time for the fileId parameter.
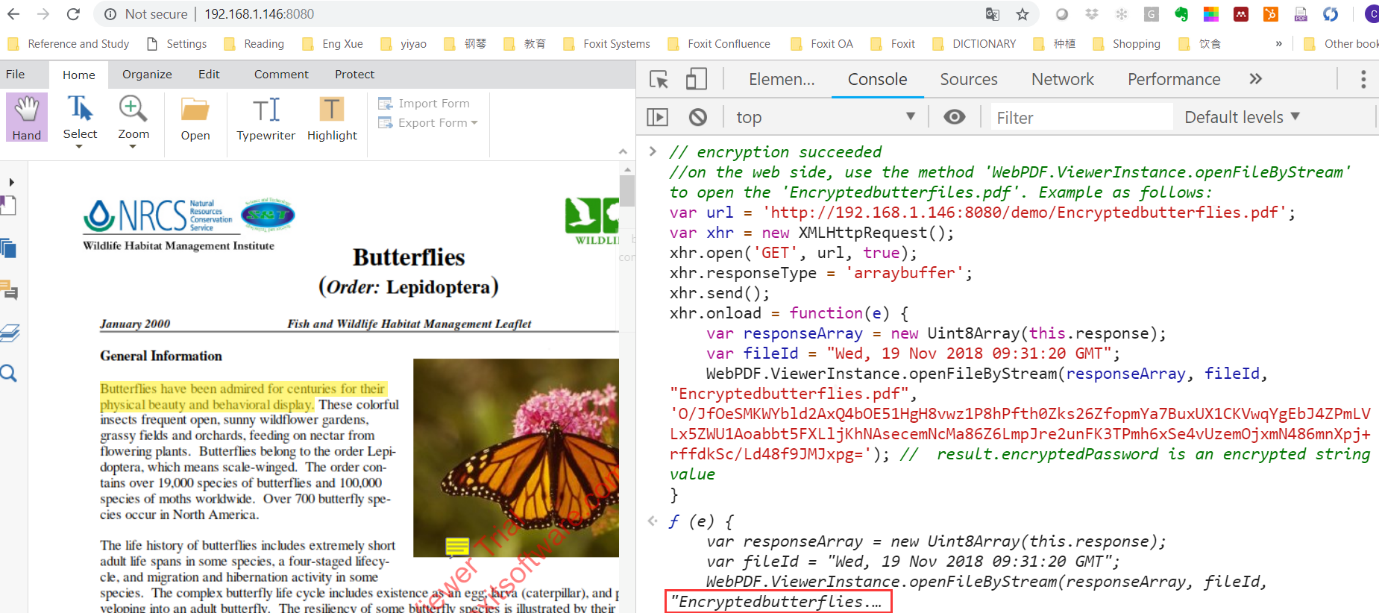
var url = 'http://192.168.1.146:8080/demo/Encryptedbutterflies.pdf';
var xhr = new XMLHttpRequest();
xhr.open('GET', url, true);
xhr.responseType = 'arraybuffer';
xhr.send();
xhr.onload = function(e) {
    var responseArray = new Uint8Array(this.response);
    var fileId = "Wed, 19 Nov 2018 09:31:20 GMT";
    WebPDF.ViewerInstance.openFileByStream(responseArray, fileId, "Encryptedbutterflies.pdf", 'O/JfOeSMKWYbld2AxQ4bOE51HgH8vwz1P8hPfth0Zks26ZfopmYa7BuxUX1CKVwqYgEbJ4ZPmLVLx5ZWU1Aoabbt5FXLljKhNAsecemNcMa86Z6LmpJre2unFK3TPmh6xSe4vUzemOjxmN486mnXpj+rffdkSc/Ld48f9JMJxpg=');
//  result.encryptedPassword is an encrypted string value
}
Enter code in the console for decryption
Now, enter the code in your viewer to allow the browser to decrypt the file and correctly open the Encryptedbutterflies.pdf file.
And there it is, simple as that. You can do the same process in batch for multiple files and make this process automated in your system as a mandatory point the application needs to complete before displaying any file. We hope that you may use this very easy-to-use javascript security solution in your viewer and make your application even more secure using Foxit’s technology.
Updated on December 11, 2018